No edit summary |
m (→Characteristics: minor) |
||
| (43 intermediate revisions by 25 users not shown) | |||
| Line 1: | Line 1: | ||
{{Top|Infested|Infested|Infested|Weapon|Weapons|Weapons}} |
{{Top|Infested|Infested|Infested|Weapon|Weapons|Weapons}} |
||
| − | {{WeaponInfoboxAutomatic |
+ | {{WeaponInfoboxAutomatic}} |
| ⚫ | |||
| − | <!--overides the name for ALL automatic calls. Needed if being used for a weapon that doesn't match the name of the page (or if the weapon's name has an odd character like '&' in it)--> |
||
| ⚫ | |||
| − | |name = |
||
| + | ==Characteristics== |
||
| − | <!-- |
||
| ⚫ | |||
| − | ---!!!!!---INSTRUCTIONS---!!!!!--- |
||
| ⚫ | |||
| − | Everything below this is for manually overriding the automatic values. If you're not sure how to update Module:Weapons/data (Or especially if this is a brand new weapon), you can just put stuff here instead and somebody else will drop by and move the changes along later. |
||
| ⚫ | |||
| ⚫ | |||
| − | If everything here is blank, then everything is working correctly - Only put values here if they are different from what the page already shows. |
||
| + | *Highest base damage of all polearms. |
||
| − | --> |
||
| + | *Heavy slam attacks have a chance to force {{D|Toxin}} procs. |
||
| − | <!--Statistics--> |
||
| ⚫ | |||
| − | |image = |
||
| − | |mastery level = |
||
| − | |slot = |
||
| − | |type = |
||
| − | |trigger = |
||
| ⚫ | |||
| − | <!--Utility--> |
||
| + | *Tied with {{Weapon|Orthos}} and {{Weapon|Serro}} for the second lowest [[critical multiplier]] of all polearms, after {{Weapon|Cassowar}}. |
||
| − | |ammo type = |
||
| ⚫ | |||
| − | |flight speed = |
||
| + | }} |
||
| − | |range = |
||
| − | |noise level = |
||
| − | |fire rate = |
||
| − | |spool = |
||
| − | |accuracy = |
||
| − | |magazine = |
||
| − | |max ammo = |
||
| − | |reload = |
||
| − | |zoom = |
||
| − | |combo reset = |
||
| − | |combo min = |
||
| − | |finisher damage = |
||
| − | |channel damage = |
||
| − | |block resist = |
||
| − | |disposition = |
||
| + | ==Acquisition== |
||
| − | <!--Normal Attacks--> |
||
| + | The Pupacyst's blueprint can be [[research]]ed from the [[Research/Bio Lab|Bio Lab]] in the [[dojo]]. |
||
| − | |normal impact = |
||
| − | |normal puncture = |
||
| − | |normal slash = |
||
| − | |normal element = |
||
| − | |normal damage = |
||
| − | |normal pellet count = |
||
| − | |normal burst count = |
||
| − | |normal critical chance = |
||
| − | |normal critical damage = |
||
| − | |normal status chance = |
||
| − | |normal punchthrough = |
||
| − | |normal radius = |
||
| − | |normal duration = |
||
| − | |normal falloff = |
||
| − | |normal ammo cost = |
||
| − | |||
| − | <!--Charge Attacks--> |
||
| − | |charge impact = |
||
| − | |charge puncture = |
||
| − | |charge slash = |
||
| − | |charge element = |
||
| − | |charge damage = |
||
| − | |charge time = |
||
| − | |charge pellet count = |
||
| − | |charge burst count = |
||
| − | |charge critical chance = |
||
| − | |charge critical damage = |
||
| − | |charge status chance = |
||
| − | |charge punchthrough = |
||
| − | |charge radius = |
||
| − | |charge duration = |
||
| − | |charge falloff = |
||
| − | |charge ammo cost = |
||
| − | |||
| − | <!--Area Attacks--> |
||
| − | |area impact = |
||
| − | |area puncture = |
||
| − | |area slash = |
||
| − | |area element = |
||
| − | |area damage = |
||
| − | |area pellet count = |
||
| − | |area critical chance = |
||
| − | |area critical damage = |
||
| − | |area status chance = |
||
| − | |area radius = |
||
| − | |area duration = |
||
| − | |area falloff = |
||
| − | |area ammo cost = |
||
| − | |||
| − | <!--Secondary Area Attacks (For 2-stage explosions like Lenz or Kulstar)--> |
||
| − | |secondaryarea impact = |
||
| − | |secondaryarea puncture = |
||
| − | |secondaryarea slash = |
||
| − | |secondaryarea element = |
||
| − | |secondaryarea damage = |
||
| − | |secondaryarea pellet count = |
||
| − | |secondaryarea critical chance = |
||
| − | |secondaryarea critical damage = |
||
| − | |secondaryarea status chance = |
||
| − | |secondaryarea radius = |
||
| − | |secondaryarea duration = |
||
| − | |secondaryarea falloff = |
||
| − | |||
| − | <!--Secondary Attacks--> |
||
| − | |secondary impact = |
||
| − | |secondary puncture = |
||
| − | |secondary slash = |
||
| − | |secondary element = |
||
| − | |secondary damage = |
||
| − | |secondary pellet count = |
||
| − | |secondary burst count = |
||
| − | |secondary critical chance = |
||
| − | |secondary critical damage = |
||
| − | |secondary status chance = |
||
| − | |secondary punchthrough = |
||
| − | |secondary radius = |
||
| − | |secondary duration = |
||
| − | |secondary falloff = |
||
| − | |secondary charge time = |
||
| − | |secondary fire rate = |
||
| − | |secondary trigger = |
||
| − | |secondary ammo cost = |
||
| − | |||
| − | <!--Throw Attacks (for Glaives)--> |
||
| − | |throw impact = |
||
| − | |throw puncture = |
||
| − | |throw slash = |
||
| − | |throw element = |
||
| − | |throw damage = |
||
| − | |throw critical chance = |
||
| − | |throw critical damage = |
||
| − | |throw status chance = |
||
| − | |throw punchthrough = |
||
| − | |throw falloff = |
||
| − | |throw charge time = |
||
| − | |||
| − | <!--Charged Throw Attacks (for Glaives)--> |
||
| − | |charged throw impact = |
||
| − | |charged throw puncture = |
||
| − | |charged throw slash = |
||
| − | |charged throw element = |
||
| − | |charged throw damage = |
||
| − | |charged throw critical chance = |
||
| − | |charged throw critical damage = |
||
| − | |charged throw status chance = |
||
| − | |charged throw punchthrough = |
||
| − | |charged throw falloff = |
||
| − | |charged throw charge time = |
||
| − | |||
| − | <!--Other Melee Attacks--> |
||
| − | |slam attack = |
||
| − | |slam radius = |
||
| − | |slide attack = |
||
| − | |slide attack = |
||
| − | |||
| − | <!--Miscellaneous--> |
||
| − | |syndicate effect = |
||
| − | |augments = |
||
| − | |polarities = |
||
| − | |stance polarity = |
||
| − | |users = |
||
| − | |introduced = |
||
| ⚫ | |||
| ⚫ | |||
| ⚫ | |||
{{BuildAutomatic|type=Weapon}} |
{{BuildAutomatic|type=Weapon}} |
||
| − | == |
+ | ==Tips== |
| + | *The Pupacyst is an excellent anti-Corpus weapon as its innate {{D|Viral}} damage increases damage done to the target's health but can also be modded to gain {{D|Toxin}} damage to affect health, and {{D|Magnetic}} damage to devastate shields. |
||
| ⚫ | |||
| + | *The slow attack speed can be mitigated by equipping {{M|Fury}} ({{M|Primed Fury|Primed}}) alongside {{M|Berserker Fury}} and {{M|Gladiator Vice}}. |
||
| ⚫ | |||
| ⚫ | |||
| ⚫ | |||
| − | *Tied with [[Guandao]] for the third highest base damage of all [[:Category:Polearm|polearms]], behind [[Lesion]] and [[Kesheg]]. |
||
| − | **Innate {{Icon|Proc|Viral|Text}} damage – effective against [[Flesh]] and [[Cloned Flesh]]. |
||
| − | **High {{Icon|Proc|Impact|Text}} damage – effective against [[shield]]s. |
||
| − | *Decent [[critical chance]]. |
||
| − | *Third highest [[status chance]] of all polearms, behind [[Cassowar]] and Lesion. |
||
| − | **Can reach 100% status chance with {{M|Volcanic Edge}}, {{M|Vicious Frost}}, {{M|Voltaic Strike}}, {{M|Virulent Scourge}}, and {{M|Drifting Contact}}. |
||
| ⚫ | |||
| ⚫ | |||
| + | ==Bugs== |
||
| ⚫ | |||
| + | *Pupacyst gains '''7''' damage to Spin Attacks for equipping Stance Mods. |
||
| − | *Innate {{Icon|Proc|Viral|Text}} damage – less effective against [[Machinery]] and [[Infested]]. |
||
| + | **This damage is affected by Mods. |
||
| − | *No {{Icon|Proc|Puncture|Text}} and {{Icon|Proc|Slash|Text}} damage – less effective against [[armor]] and [[health]]. |
||
| − | *Low [[critical multiplier]]. |
||
| ⚫ | |||
| − | |||
| − | {{WeaponBuildSection}} |
||
| − | |||
| ⚫ | |||
| ⚫ | |||
| − | **Similarly, its description refers to Pupacyst as a [[:category:Staff|staff]], even though it's classified as a [[Polearm]] in-game. |
||
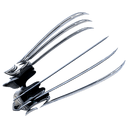
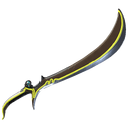
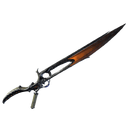
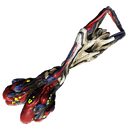
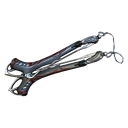
==Media== |
==Media== |
||
| ⚫ | |||
| − | <gallery type="slideshow" widths="500" position="center"> |
||
| + | File:Tim-bergholz-chamferzone-com-screenshot003.jpg |
||
| − | <!--images--> |
||
| + | File:Tim-bergholz-chamferzone-com-screenshot070.jpg |
||
| − | |||
| + | File:Tim-bergholz-chamferzone-com-screenshot0001.jpg |
||
| ⚫ | |||
| + | File:Tim-bergholz-chamferzone-com-screenshot146.jpg |
||
| − | |||
| − | <gallery widths="300" position="center"> |
+ | </gallery><gallery widths="300" position="center" spacing="small"> |
WARFRAME - Pupacyst Builds and Synergies |
WARFRAME - Pupacyst Builds and Synergies |
||
| + | Warframe Pupacyst - 2 forma Build |
||
</gallery> |
</gallery> |
||
==Patch History== |
==Patch History== |
||
{{Scrollbox/Article| |
{{Scrollbox/Article| |
||
| + | {{ver|29.5}} |
||
| + | *Fixed the Pupacyst description calling it a “staff” instead of a “polearm” as intended. |
||
| + | |||
| + | {{ver|26}} |
||
| + | *Damage increased from 90 to 284. |
||
| + | *Range increased from 1.5 to 2.7. |
||
| + | *Slam Attack increased from 90 to 852. |
||
| + | *Slide Attack increased from 193 to 568. |
||
| + | *Parry Angle set to 55. |
||
| + | *Follow Through reduced from 0.8 to 0.6. |
||
| + | |||
{{ver|23.10}} |
{{ver|23.10}} |
||
*Introduced. |
*Introduced. |
||
| + | }} |
||
| − | }}{{Ver/Lu|23.10.6}} |
||
| + | {{ver/Lu|26}} |
||
| − | |||
{{ResearchNav}} |
{{ResearchNav}} |
||
{{WeaponNav}} |
{{WeaponNav}} |
||
__NOTOC__ |
__NOTOC__ |
||
[[de:Pupacyst]] |
[[de:Pupacyst]] |
||
| + | [[es:Pupacyst]] |
||
[[pt:Pupacyst]] |
[[pt:Pupacyst]] |
||
| + | [[fr:Pupacyst]] |
||
[[Category:Weapons]] |
[[Category:Weapons]] |
||
[[Category:Update 23]] |
[[Category:Update 23]] |
||
[[Category:Polearm]] |
[[Category:Polearm]] |
||
| + | [[uk:Пупацист]] |
||
Latest revision as of 02:28, 11 January 2024
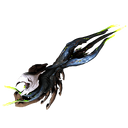
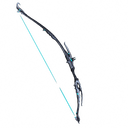
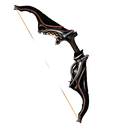
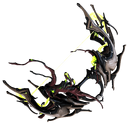
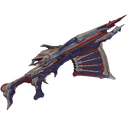
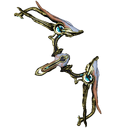
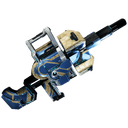
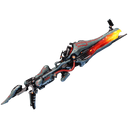
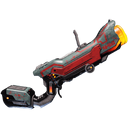
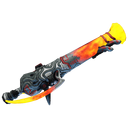
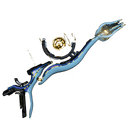
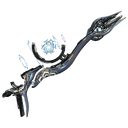
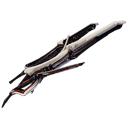
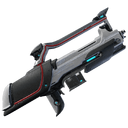
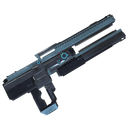
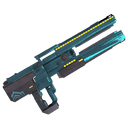
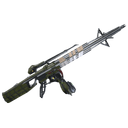
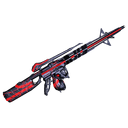
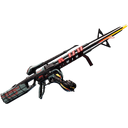
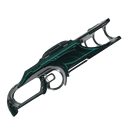
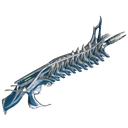
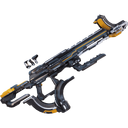
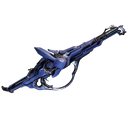
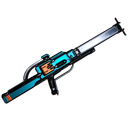
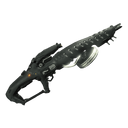
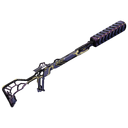
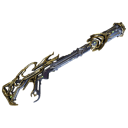
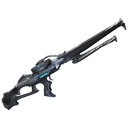
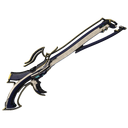
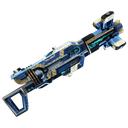
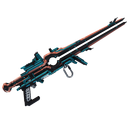
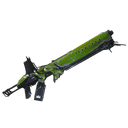
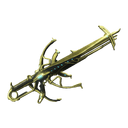
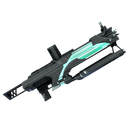
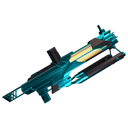
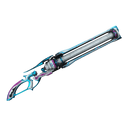
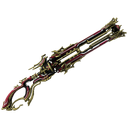
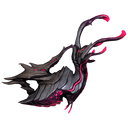
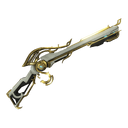
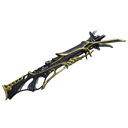
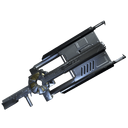
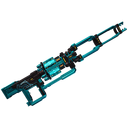
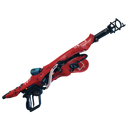
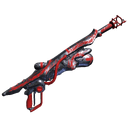
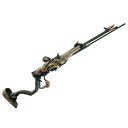
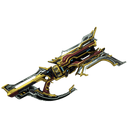
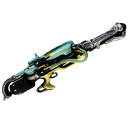
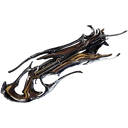
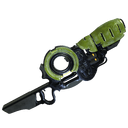
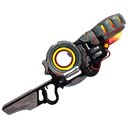
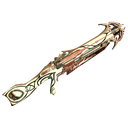
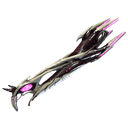
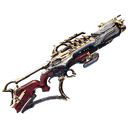
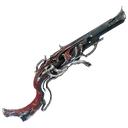
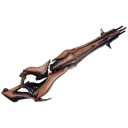
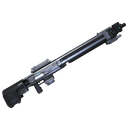
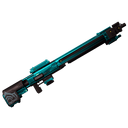
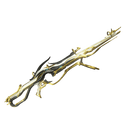
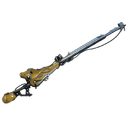
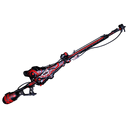
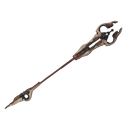
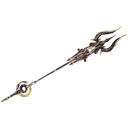
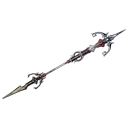
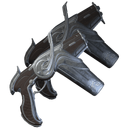
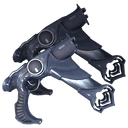
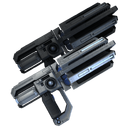
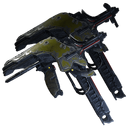
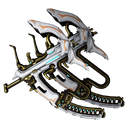
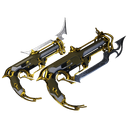
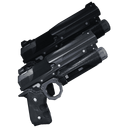
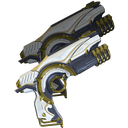
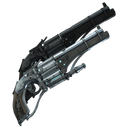
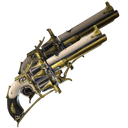
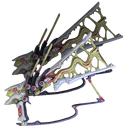
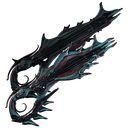
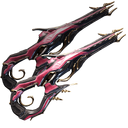
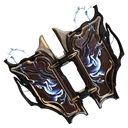
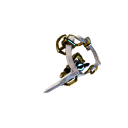
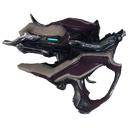
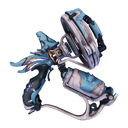
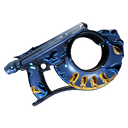
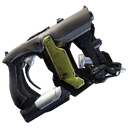
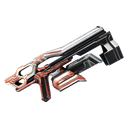
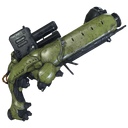
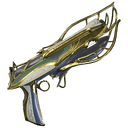
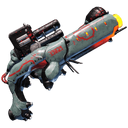
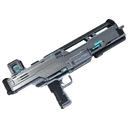
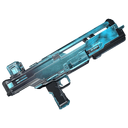
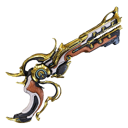
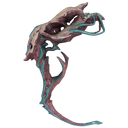
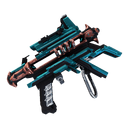
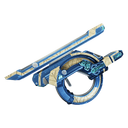
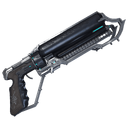
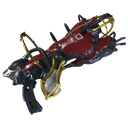
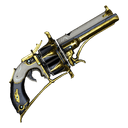
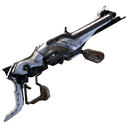
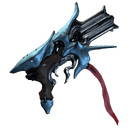
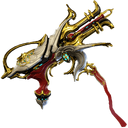
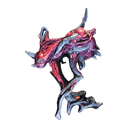
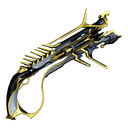
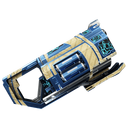
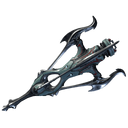
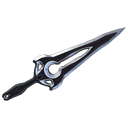
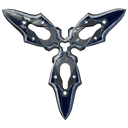
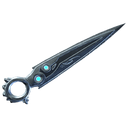
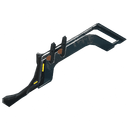
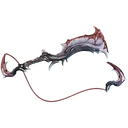
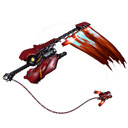
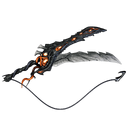
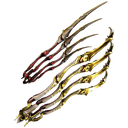
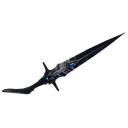
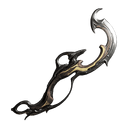
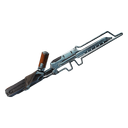
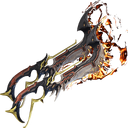
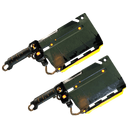
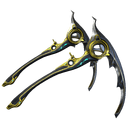
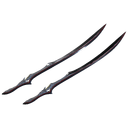
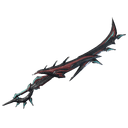
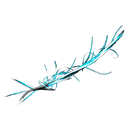
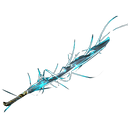
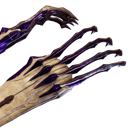
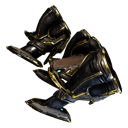
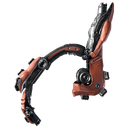
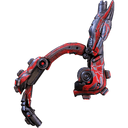
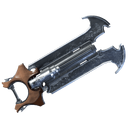
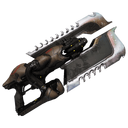
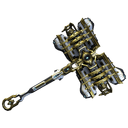
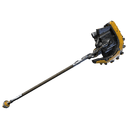
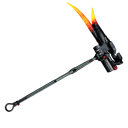
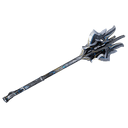
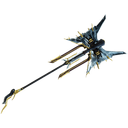
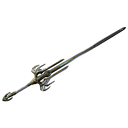
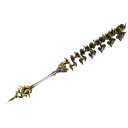
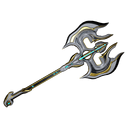
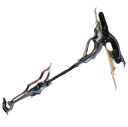
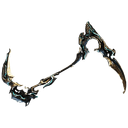
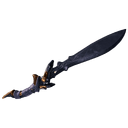
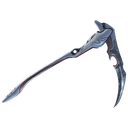
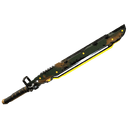
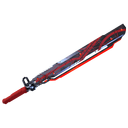
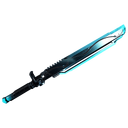
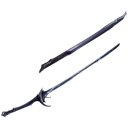
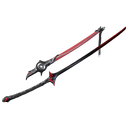
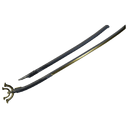
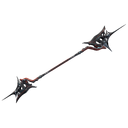
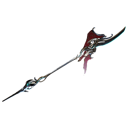
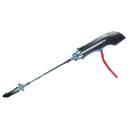
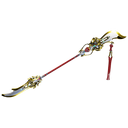
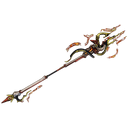
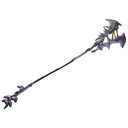
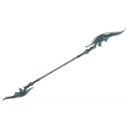
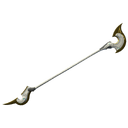
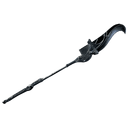
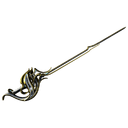
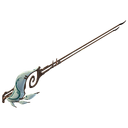
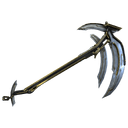
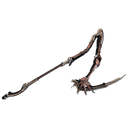
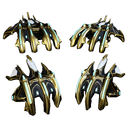
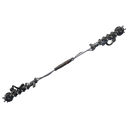
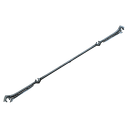
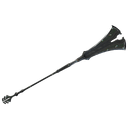
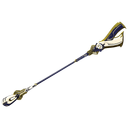
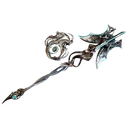
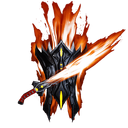
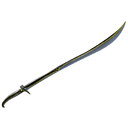
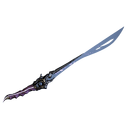
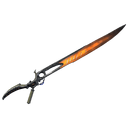
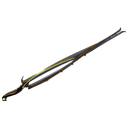
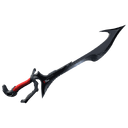
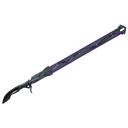
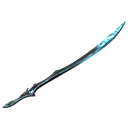
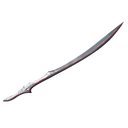
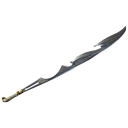
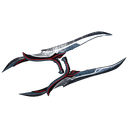
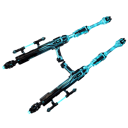
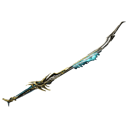
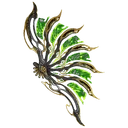
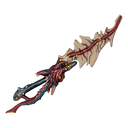
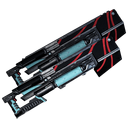
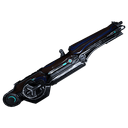
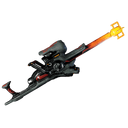
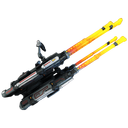
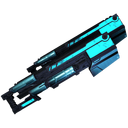
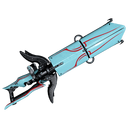
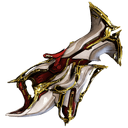
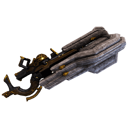
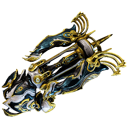
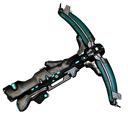
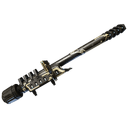
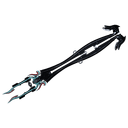
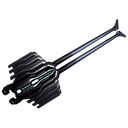
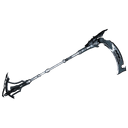
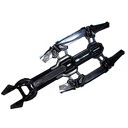
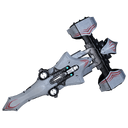
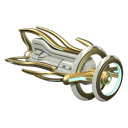
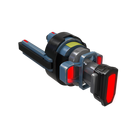
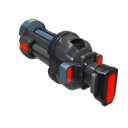
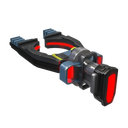
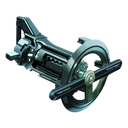
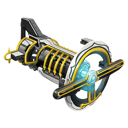
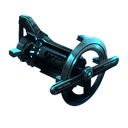
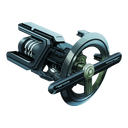
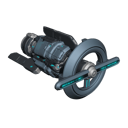
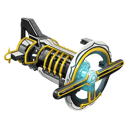
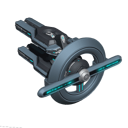
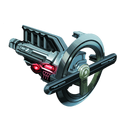
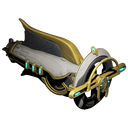
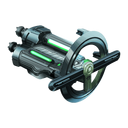
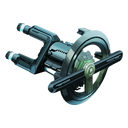
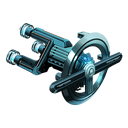
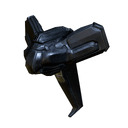
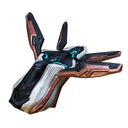
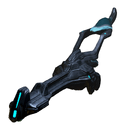
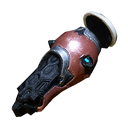
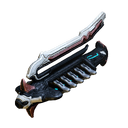
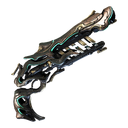
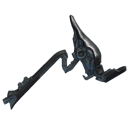
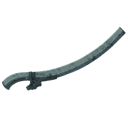
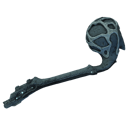
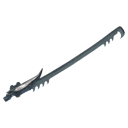
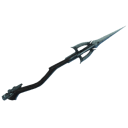
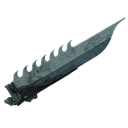
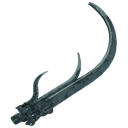
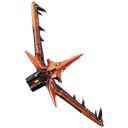
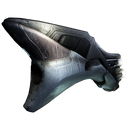
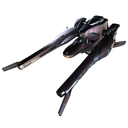
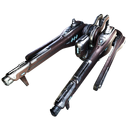
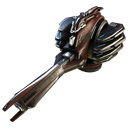
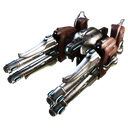
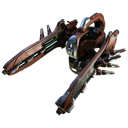
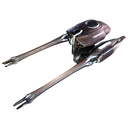
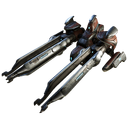
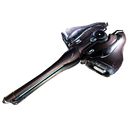
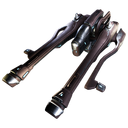
The Pupacyst is an ![]() Infested polearm that innately deals
Infested polearm that innately deals ![]() Viral damage.
Viral damage.
Characteristics[]
- This weapon deals both
 Viral and Impact damage.
 - Stance slot has polarity, matching Shimmering Blight and Argent Scourge (Conclave only) stance.
- Innate polarity.
Advantages over other Melee weapons (excluding modular weapons):
- Highest base damage of all polearms.
- Heavy slam attacks have a chance to force Toxin procs.
- Normal Attack (wiki attack index 1)
- Very high total damage (284)
- Above average attack range (2.70 m)
- Above average disposition (●●●●● (1.35x))
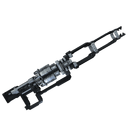
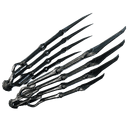
Disadvantages over other Melee weapons (excluding modular weapons):
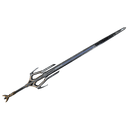
- Tied with Orthos and Serro for the second lowest critical multiplier of all polearms, after Cassowar.
- Tied with Kesheg and Guandao for the slowest attack speed of all polearms.
- Normal Attack (wiki attack index 1)
- Low crit chance (13.00%)
- Very low attack speed (0.83x animation speed)
- Very low crit multiplier (1.50x)
Acquisition[]
The Pupacyst's blueprint can be researched from the Bio Lab in the dojo.
| Manufacturing Requirements | |||||
|---|---|---|---|---|---|
30,000 |
5 |
8,750 |
2,250 |
1 |
Time: 1 Day(s) |
| Rush: | |||||
Bio Lab Research 3,000 3,000
| |||||
5,000 |
30 |
650 |
4,500 |
3,750 |
Time: 3 Day(s) |
| Prereq: Embolist | |||||
Tips[]
- The Pupacyst is an excellent anti-Corpus weapon as its innate Viral damage increases damage done to the target's health but can also be modded to gain Toxin damage to affect health, and Magnetic damage to devastate shields.
- The slow attack speed can be mitigated by equipping Fury ( Primed) alongside Berserker Fury and Gladiator Vice.
Trivia[]
- Although the Pupacyst's description claims that its tip "rends flesh", it has no Slash damage whatsoever.
Bugs[]
- Pupacyst gains 7 damage to Spin Attacks for equipping Stance Mods.
- This damage is affected by Mods.
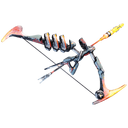
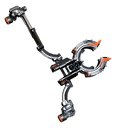
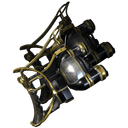
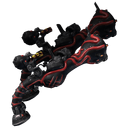
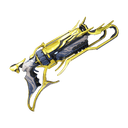
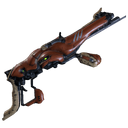
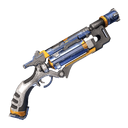
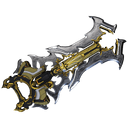
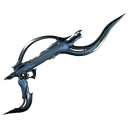
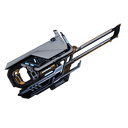
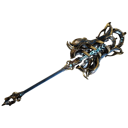
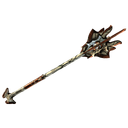
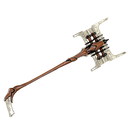
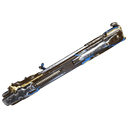
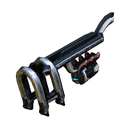
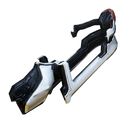
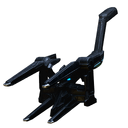
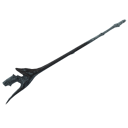
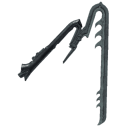
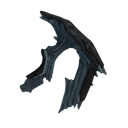
Media[]
")
")
")
")
")
WARFRAME - Pupacyst Builds and Synergies
")
Warframe Pupacyst - 2 forma Build
Patch History[]
Update 29.5 (2020-11-19)
- Fixed the Pupacyst description calling it a “staff” instead of a “polearm” as intended.
Update 26.0 (2019-10-31)
- Damage increased from 90 to 284.
- Range increased from 1.5 to 2.7.
- Slam Attack increased from 90 to 852.
- Slide Attack increased from 193 to 568.
- Parry Angle set to 55.
- Follow Through reduced from 0.8 to 0.6.
Update 23.10 (2018-10-12)
- Introduced.
Last updated: Update 26.0 (2019-10-31)
| Research • Clan • Dojo | ||||||||||||||||||||||||||||||
|---|---|---|---|---|---|---|---|---|---|---|---|---|---|---|---|---|---|---|---|---|---|---|---|---|---|---|---|---|---|---|
|