(→top: Replacing mod links with Template:M, replaced: Speed Drift → {{M|Speed Drift}}) |
No edit summary Tag: source edit |
||
| (18 intermediate revisions by 13 users not shown) | |||
| Line 1: | Line 1: | ||
| + | <noinclude>{{DISPLAYTITLE:Speed Test}}</noinclude> |
||
| − | <onlyinclude>{{EditTab|Orokin Moon/SpeedTest}} |
||
| + | <section begin=Speed Test /> |
||
| − | [[File:Speed test.png|thumb|220x220px|Speed Test starting room. First plate to shoot is above the doorway. (Death Orbs destroyed)]] |
||
| + | {{Infobox |
||
| − | |||
| + | |Box title = Speed Test |
||
| + | |image = Speed Drift Room.png |
||
| + | |caption = Initial view of the Speed Test room |
||
| + | }} |
||
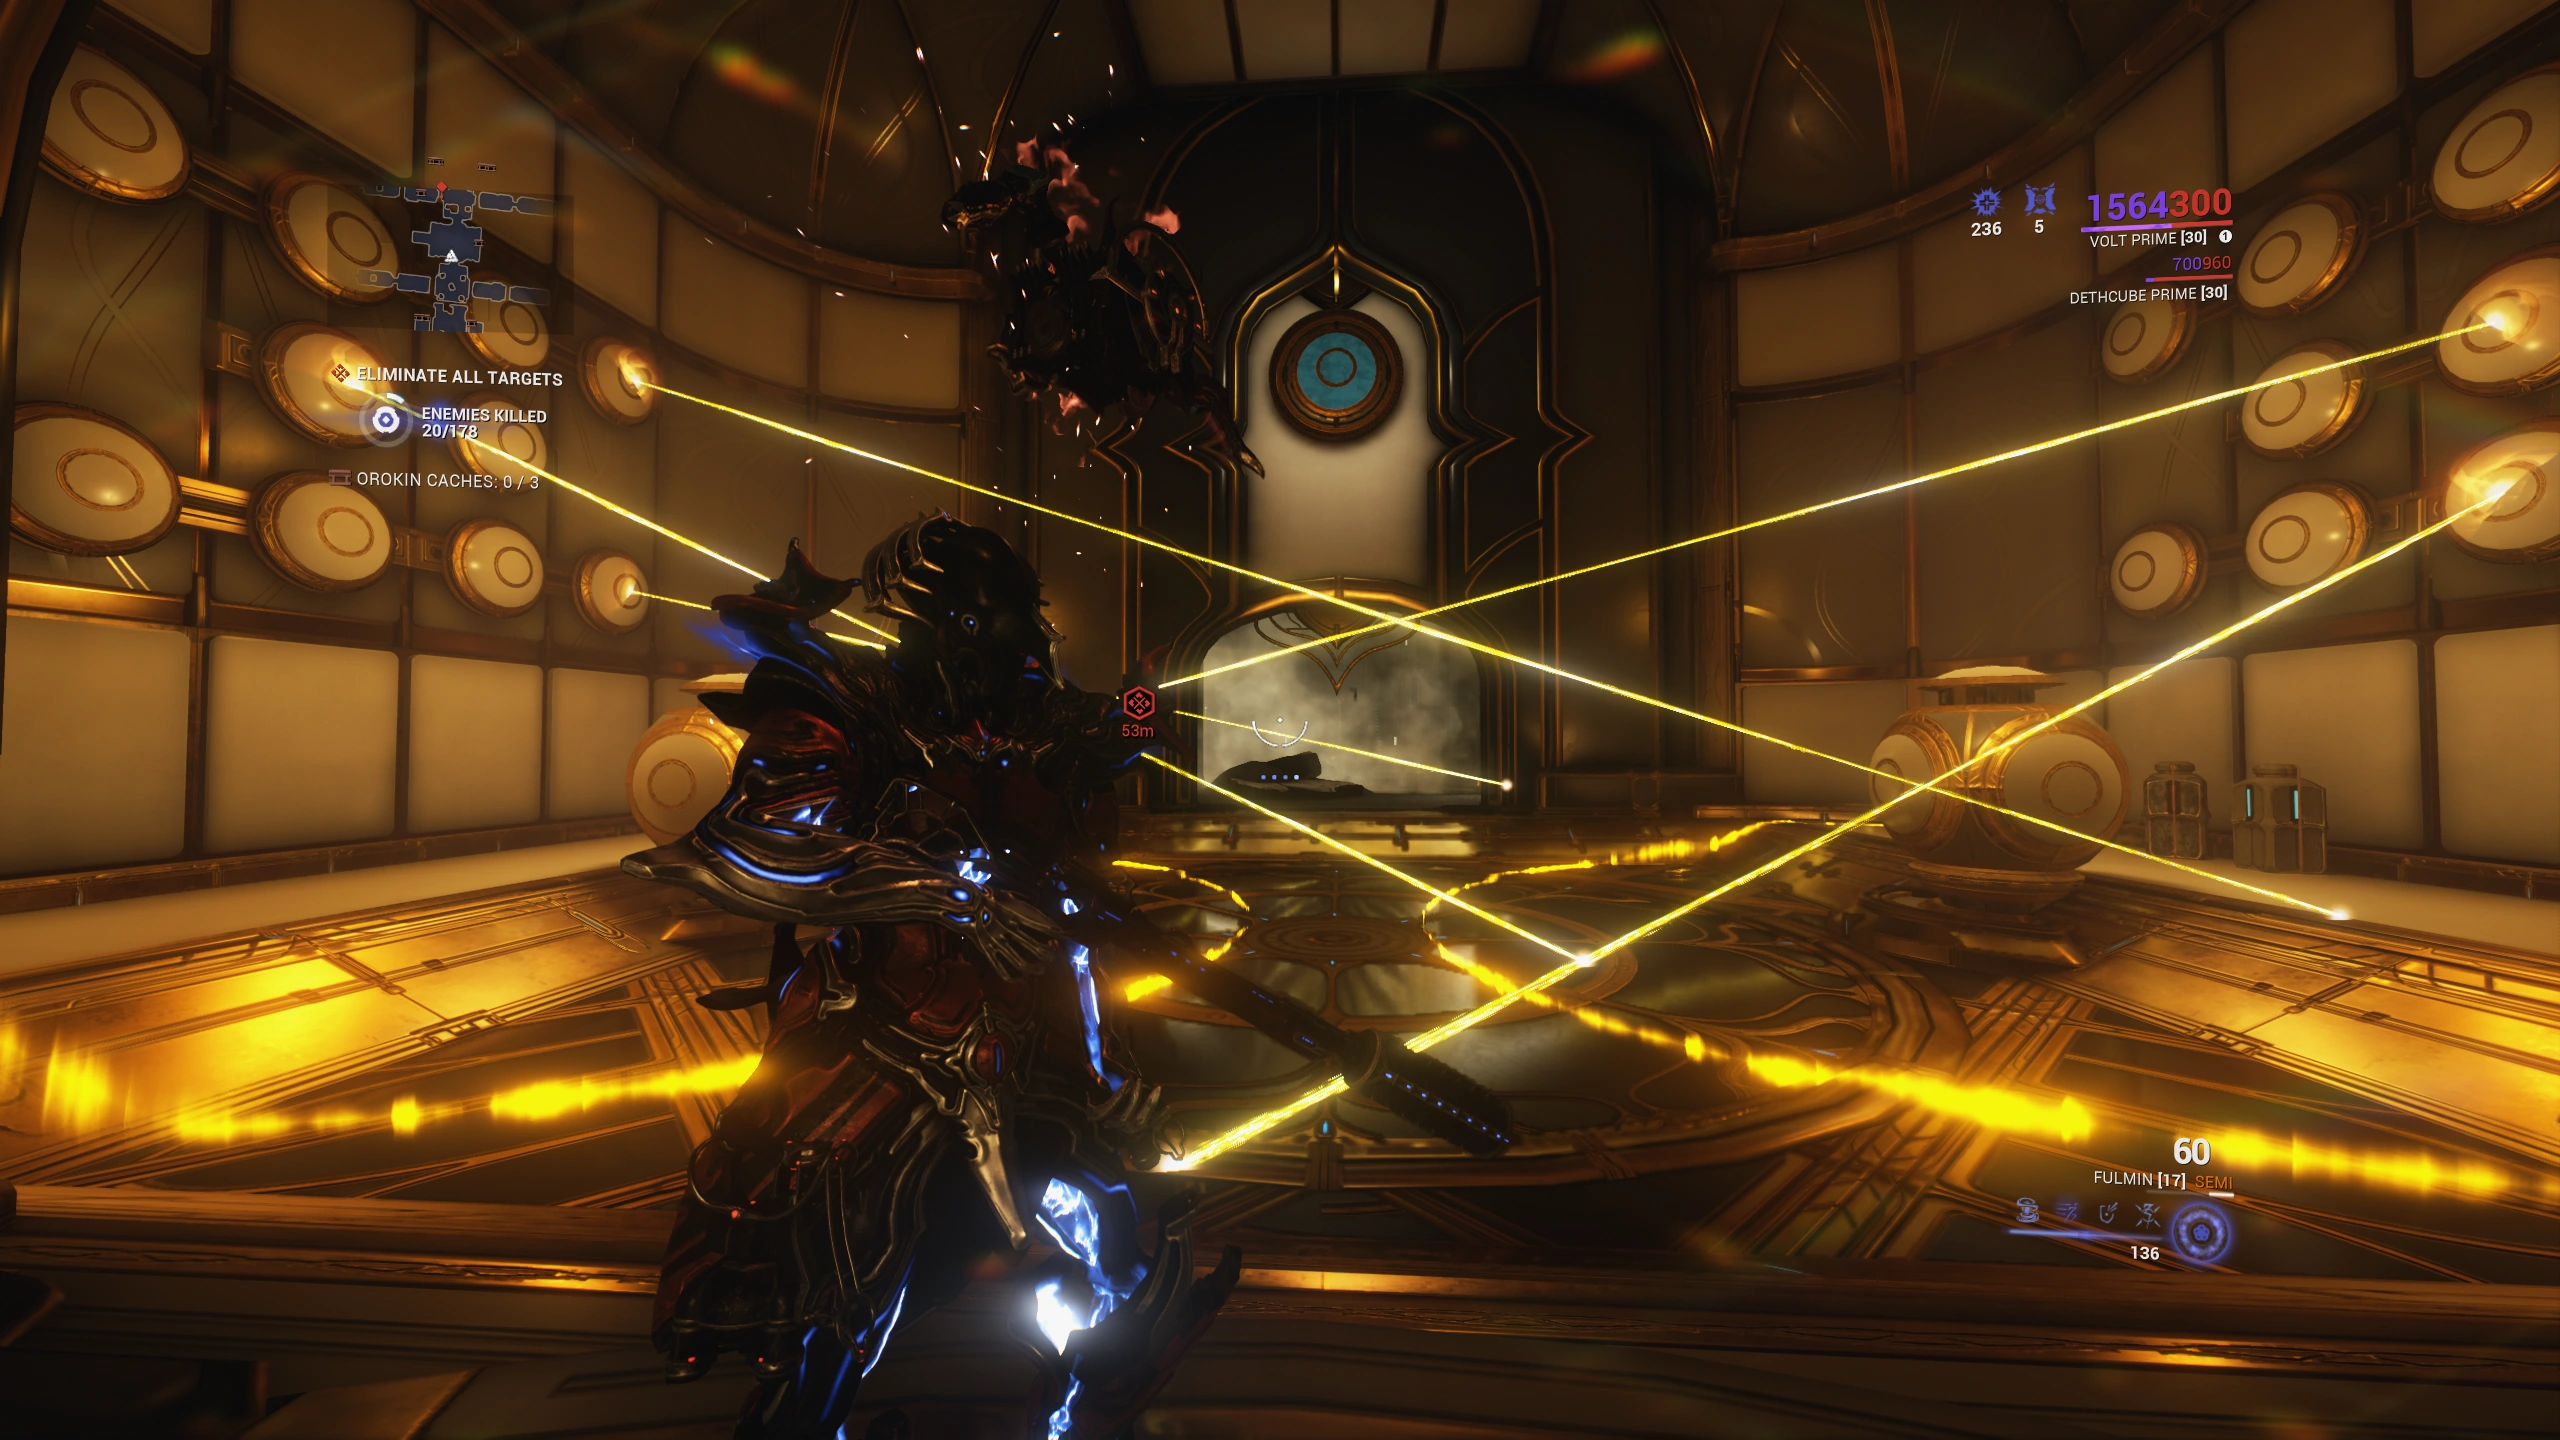
This room is initially composed of a large main hallway, with two looping hallways hidden off to the sides. The center of the main hallway has a room which contains two Thumper [[Orokin_Void#Death_Orbs|Death Orbs]], along with multiple Laser Plates firing at odd angles. Shoot one of the plates in the upper part of this room just above the central doorways, and a small pillar in the middle of the room will start to rise toward a grate on the roof, starting the test. Two doors will open on the sides just outside the Thumper/Laser room on opposite sides, leading to the hidden looping hallways. Go through one of the opened side doors, and step on the pressure plate in front of some gold doors. Get ready to move as soon as the doors open. |
This room is initially composed of a large main hallway, with two looping hallways hidden off to the sides. The center of the main hallway has a room which contains two Thumper [[Orokin_Void#Death_Orbs|Death Orbs]], along with multiple Laser Plates firing at odd angles. Shoot one of the plates in the upper part of this room just above the central doorways, and a small pillar in the middle of the room will start to rise toward a grate on the roof, starting the test. Two doors will open on the sides just outside the Thumper/Laser room on opposite sides, leading to the hidden looping hallways. Go through one of the opened side doors, and step on the pressure plate in front of some gold doors. Get ready to move as soon as the doors open. |
||
| + | |||
| + | <br /> |
||
| + | [[File:Speed_Drift_Room_-_Start-End_Chamber.png|alt=Starting/ending chamber|left|550x550px]] |
||
| + | [[File:Speed Drift Room - Starting Door.png|550x550px]] |
||
One hallway contains ice floor hazards (some of the ice hazards may appear glitched, but their effects are still present) and rising pillars. At certain intervals in the hallway, fast-closing and opening doors will attempt to shut you out from reaching the end of the hallway within the time limit. The optimal strategy for getting through is Bullet Jumping, and being mindful of the rising pillars that will try and block your path. Aiming your Bullet Jump high enough will let you ignore most of the pillars and frigid floor. |
One hallway contains ice floor hazards (some of the ice hazards may appear glitched, but their effects are still present) and rising pillars. At certain intervals in the hallway, fast-closing and opening doors will attempt to shut you out from reaching the end of the hallway within the time limit. The optimal strategy for getting through is Bullet Jumping, and being mindful of the rising pillars that will try and block your path. Aiming your Bullet Jump high enough will let you ignore most of the pillars and frigid floor. |
||
| Line 8: | Line 16: | ||
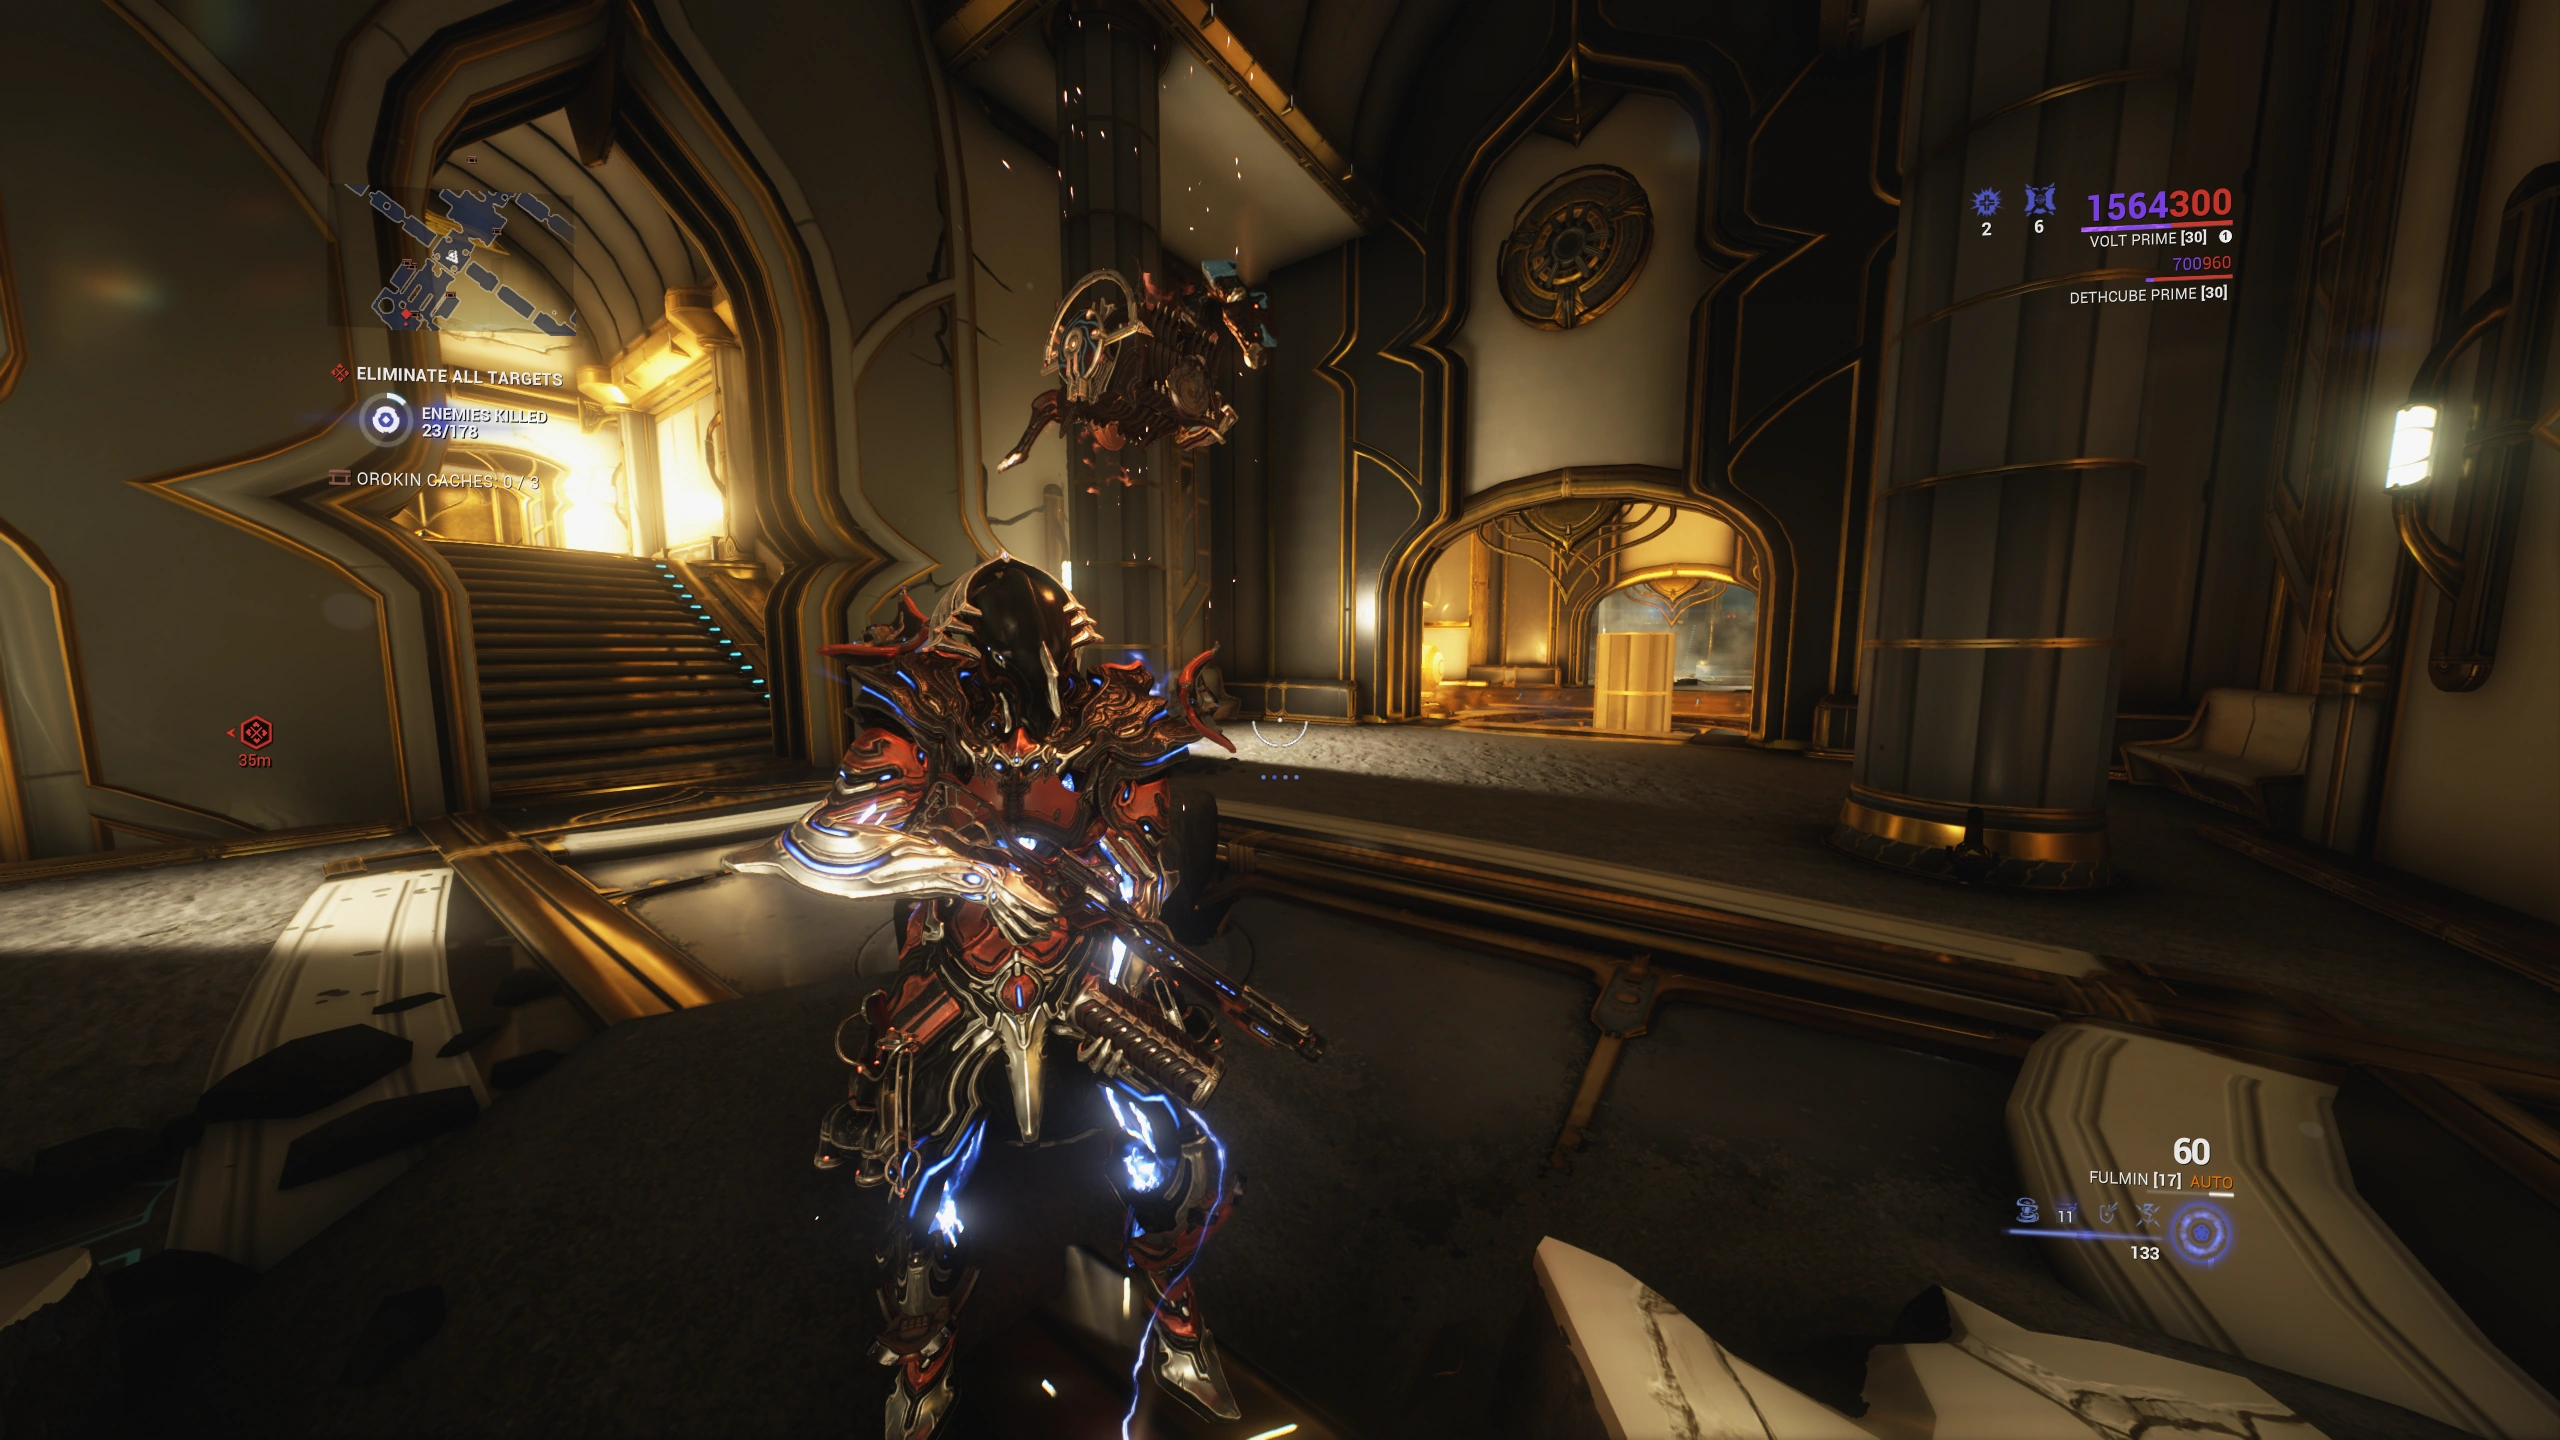
The other hallway contains multiple Thumper Death Orbs, along with the same fast-closing/opening doors. Using a Warframe that can ignore their slams (e.g. Rhino, Valkyr, Atlas) can make this hallway trivial to complete. Otherwise, alternating between Bullet Jumps and sprinting with good timing will get you through as well. You can also shoot the thumper's moving section to disable them. |
The other hallway contains multiple Thumper Death Orbs, along with the same fast-closing/opening doors. Using a Warframe that can ignore their slams (e.g. Rhino, Valkyr, Atlas) can make this hallway trivial to complete. Otherwise, alternating between Bullet Jumps and sprinting with good timing will get you through as well. You can also shoot the thumper's moving section to disable them. |
||
| − | At the end of each hallway is a plate above a door that you must shoot; but the shot itself will only register if you exit the small passage at the end of the hallway, before all doorways close the first time. Shooting both plates will extend the pillar to its full height and open the grate at the top, completing the test and |
+ | At the end of each hallway is a plate above a door that you must shoot; but the shot itself will only register if you exit the small passage at the end of the hallway, before all doorways close the first time. Shooting both plates will extend the pillar to its full height and open the grate at the top, completing the test and giving you access to the treasure room. |
| + | This test rewards {{M|Speed Drift}}. |
||
| ⚫ | |||
| + | ==Tips== |
||
| − | This test can be run any number of times until completion. Should you fail any part, after a few moments you will be automatically teleported to the start of the hallway you failed to complete, provided you remained in the hallway (including the area between the exit and plate). Once a part is done (whether the Thumper or the Ice hazard one), it will be registered and saved as completed. This means you repeat one till completion, then do the other, without fear of having to do the first one again in case of failure. |
||
| ⚫ | |||
| + | *The trick to completing the Thumper puzzle is to destroy the Thumpers as you run through. |
||
| + | *There is a door half way through the Thumper portion of the test that closes incredible quickly, but will reopen, you've not failed the test, it is there to trick you, (if you weren't fast enough to make it through before hand) continue through when it reopens. |
||
| + | *In order to bypass the bug on the Thumper puzzle, you can place a specter on the pressure plate at the start. This prevents you from getting locked inside and having to abort the mission. |
||
| + | *Since [[Limbo]]'s passive [[Rift Plane]] ignores both the Cold procs from the Ice Corridor, and the knockdowns from the shockwaves in the Thumper Corridor. A viable strategy is to bring a Limbo built with speed and slide mods and just run/slide through the challenge. |
||
| + | ==Trivia== |
||
| − | As of 26th march 2017, this room is likely to spawn in the Exterminate mission Plato.</onlyinclude> |
||
| + | *As of 26 March 2017, this room is more likely to spawn in the [[Crossfire]] exterminate mission Plato, which the mission may spawn a map that contains two or more tests. |
||
| + | *Prior to Update 19.2.0, this test could not be repeated in the same mission— if you failed to get to the end, the room would lock for the remainder of the mission. Now, you can return to the starting door and retrigger the pad to try it as many times as you want. |
||
| + | <br /></onlyinclude><section end="Speed" test="" /> |
||
| + | [[es:Luna Orokin/Prueba de velocidad]] |
||
| + | [[fr:Lua#Salles_de_l'Ascension]] |
||
[[Category:Update 18]] |
[[Category:Update 18]] |
||
[[Category:Tabview]] |
[[Category:Tabview]] |
||
Latest revision as of 03:14, 6 August 2022
This room is initially composed of a large main hallway, with two looping hallways hidden off to the sides. The center of the main hallway has a room which contains two Thumper Death Orbs, along with multiple Laser Plates firing at odd angles. Shoot one of the plates in the upper part of this room just above the central doorways, and a small pillar in the middle of the room will start to rise toward a grate on the roof, starting the test. Two doors will open on the sides just outside the Thumper/Laser room on opposite sides, leading to the hidden looping hallways. Go through one of the opened side doors, and step on the pressure plate in front of some gold doors. Get ready to move as soon as the doors open.
One hallway contains ice floor hazards (some of the ice hazards may appear glitched, but their effects are still present) and rising pillars. At certain intervals in the hallway, fast-closing and opening doors will attempt to shut you out from reaching the end of the hallway within the time limit. The optimal strategy for getting through is Bullet Jumping, and being mindful of the rising pillars that will try and block your path. Aiming your Bullet Jump high enough will let you ignore most of the pillars and frigid floor.
The other hallway contains multiple Thumper Death Orbs, along with the same fast-closing/opening doors. Using a Warframe that can ignore their slams (e.g. Rhino, Valkyr, Atlas) can make this hallway trivial to complete. Otherwise, alternating between Bullet Jumps and sprinting with good timing will get you through as well. You can also shoot the thumper's moving section to disable them.
At the end of each hallway is a plate above a door that you must shoot; but the shot itself will only register if you exit the small passage at the end of the hallway, before all doorways close the first time. Shooting both plates will extend the pillar to its full height and open the grate at the top, completing the test and giving you access to the treasure room.
This test rewards ![]() Speed Drift.
Speed Drift.
Tips[]
- When you're in the main hallway, try to avoid triggering Syndicate radial effects or using Warframe abilities that can damage things without needing line-of-sight, as they can hit the plates too early and fail the test.
- The trick to completing the Thumper puzzle is to destroy the Thumpers as you run through.
- There is a door half way through the Thumper portion of the test that closes incredible quickly, but will reopen, you've not failed the test, it is there to trick you, (if you weren't fast enough to make it through before hand) continue through when it reopens.
- In order to bypass the bug on the Thumper puzzle, you can place a specter on the pressure plate at the start. This prevents you from getting locked inside and having to abort the mission.
- Since Limbo's passive Rift Plane ignores both the Cold procs from the Ice Corridor, and the knockdowns from the shockwaves in the Thumper Corridor. A viable strategy is to bring a Limbo built with speed and slide mods and just run/slide through the challenge.
Trivia[]
- As of 26 March 2017, this room is more likely to spawn in the Crossfire exterminate mission Plato, which the mission may spawn a map that contains two or more tests.
- Prior to Update 19.2.0, this test could not be repeated in the same mission— if you failed to get to the end, the room would lock for the remainder of the mission. Now, you can return to the starting door and retrigger the pad to try it as many times as you want.