(Using AWB to quickly swap infoboxes) Tag: apiedit |
m (→Characteristics: link fix) |
||
| (47 intermediate revisions by 23 users not shown) | |||
| Line 1: | Line 1: | ||
{{Top|Lotus|Tenno|Tenno|Weapon|Weapons|Weapons}} |
{{Top|Lotus|Tenno|Tenno|Weapon|Weapons|Weapons}} |
||
| ⚫ | |||
| + | <!--overrides the name for ALL automatic calls. Needed if being used for a weapon that doesn't match the name of the page (or if the weapon's name has an odd character like '&' in it)--> |
||
| + | |name = |
||
| + | <!-- |
||
| ⚫ | |||
| + | ---!!!!!---INSTRUCTIONS---!!!!!--- |
||
| + | Everything below this is for manually overriding the automatic values. If you're not sure how to update Module:Weapons/data (Or especially if this is a brand new weapon), you can just put stuff here instead and somebody else will drop by and move the changes along later. |
||
| + | |||
| + | If everything here is blank, then everything is working correctly - Only put values here if they are different from what the page already shows. |
||
| + | --> |
||
| + | <!--Statistics--> |
||
| + | |image = |
||
| + | |mastery level = |
||
| + | |slot = |
||
| + | |type = |
||
| + | |trigger = |
||
| + | |||
| + | <!--Utility--> |
||
| + | |ammo type = |
||
| + | |flight speed = |
||
| + | |range = |
||
| + | |noise level = |
||
| + | |fire rate = |
||
| + | |spool = |
||
| + | |accuracy = |
||
| + | |magazine = |
||
| + | |max ammo = |
||
| + | |reload = |
||
| + | |zoom = |
||
| + | |combo reset = |
||
| + | |combo min = |
||
| + | |finisher damage = |
||
| + | |disposition = |
||
| + | |melee range = |
||
| + | |combo duration = |
||
| + | |block angle = |
||
| + | |follow through = |
||
| + | |||
| + | <!--Normal Attacks--> |
||
| + | |normal impact = |
||
| + | |normal puncture = |
||
| + | |normal slash = |
||
| + | |normal element = |
||
| + | |normal damage = |
||
| + | |normal pellet count = |
||
| + | |normal burst count = |
||
| + | |normal critical chance = |
||
| + | |normal critical damage = |
||
| + | |normal status chance = |
||
| + | |normal punchthrough = |
||
| + | |normal radius = |
||
| + | |normal duration = |
||
| + | |normal falloff = |
||
| + | |normal ammo cost = |
||
| + | |||
| + | <!--Charge Attacks--> |
||
| + | |charge impact = |
||
| + | |charge puncture = |
||
| + | |charge slash = |
||
| + | |charge element = |
||
| + | |charge damage = |
||
| + | |charge time = |
||
| + | |charge pellet count = |
||
| + | |charge burst count = |
||
| + | |charge critical chance = |
||
| + | |charge critical damage = |
||
| + | |charge status chance = |
||
| + | |charge punchthrough = |
||
| + | |charge radius = |
||
| + | |charge duration = |
||
| + | |charge falloff = |
||
| + | |charge ammo cost = |
||
| + | |||
| + | <!--Area Attacks--> |
||
| + | |area impact = |
||
| + | |area puncture = |
||
| + | |area slash = |
||
| + | |area element = |
||
| + | |area damage = |
||
| + | |area pellet count = |
||
| ⚫ | |||
| + | |area critical damage = |
||
| + | |area status chance = |
||
| + | |area radius = |
||
| + | |area duration = |
||
| + | |area falloff = |
||
| + | |area ammo cost = |
||
| + | |||
| + | <!--Secondary Area Attacks (For 2-stage explosions like Lenz or Kulstar)--> |
||
| + | |secondaryarea impact = |
||
| + | |secondaryarea puncture = |
||
| + | |secondaryarea slash = |
||
| + | |secondaryarea element = |
||
| + | |secondaryarea damage = |
||
| + | |secondaryarea pellet count = |
||
| + | |secondaryarea critical chance = |
||
| + | |secondaryarea critical damage = |
||
| + | |secondaryarea status chance = |
||
| + | |secondaryarea radius = |
||
| + | |secondaryarea duration = |
||
| + | |secondaryarea falloff = |
||
| + | |||
| + | <!--Secondary Attacks--> |
||
| + | |secondary impact = |
||
| + | |secondary puncture = |
||
| + | |secondary slash = |
||
| + | |secondary element = |
||
| + | |secondary damage = |
||
| + | |secondary pellet count = |
||
| + | |secondary burst count = |
||
| + | |secondary critical chance = |
||
| + | |secondary critical damage = |
||
| + | |secondary status chance = |
||
| + | |secondary punchthrough = |
||
| + | |secondary radius = |
||
| + | |secondary duration = |
||
| + | |secondary falloff = |
||
| + | |secondary charge time = |
||
| + | |secondary fire rate = |
||
| + | |secondary trigger = |
||
| + | |secondary ammo cost = |
||
| + | |||
| + | <!--Throw Attacks (for Glaives)--> |
||
| + | |throw impact = |
||
| + | |throw puncture = |
||
| + | |throw slash = |
||
| + | |throw element = |
||
| + | |throw damage = |
||
| + | |throw critical chance = |
||
| + | |throw critical damage = |
||
| + | |throw status chance = |
||
| + | |throw punchthrough = |
||
| + | |throw falloff = |
||
| + | |throw charge time = |
||
| + | |||
| + | <!--Charged Throw Attacks (for Glaives)--> |
||
| + | |charged throw impact = |
||
| + | |charged throw puncture = |
||
| + | |charged throw slash = |
||
| + | |charged throw element = |
||
| + | |charged throw damage = |
||
| + | |charged throw critical chance = |
||
| + | |charged throw critical damage = |
||
| + | |charged throw status chance = |
||
| + | |charged throw punchthrough = |
||
| + | |charged throw falloff = |
||
| + | |charged throw charge time = |
||
| + | |||
| + | <!--Slam Melee Attacks--> |
||
| + | |slam attack = |
||
| + | |slam radial damage = |
||
| + | |slam radius = |
||
| + | |||
| + | |||
| + | <!--Heavy Melee Attacks--> |
||
| + | |heavy attack = |
||
| + | |heavy attack windup = |
||
| + | |heavy slam attack = |
||
| + | |heavy slam radial damage = |
||
| + | |heavy slam radius = |
||
| + | |||
| + | <!--Other Melee Attacks--> |
||
| + | |slide attack = |
||
| + | |wall attack = |
||
| + | |||
| + | <!--Miscellaneous--> |
||
| + | |syndicate effect = |
||
| + | |augments = |
||
| + | |polarities = |
||
| + | |exilus polarity = |
||
| + | |stance polarity = |
||
| + | |users = |
||
| + | |introduced = |
||
| ⚫ | |||
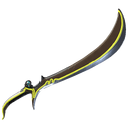
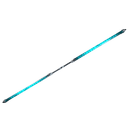
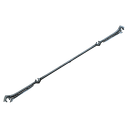
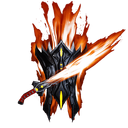
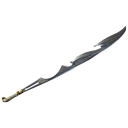
{{Codex|A strong blade capable of inflicting fire damage to its foes.}} |
{{Codex|A strong blade capable of inflicting fire damage to its foes.}} |
||
| − | The '''Heat Sword''' |
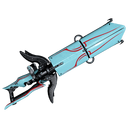
+ | The '''Heat Sword''' is a sword that radiates {{Icon|Proc|Heat|Text}} on its slam attacks and ground finishers. |
This weapon can be sold for {{cc|5,000}}. |
This weapon can be sold for {{cc|5,000}}. |
||
| ⚫ | |||
| − | {{BuildRequire |
||
| − | |buildcredits= 20,000 |
||
| − | |build1= Neural Sensors |
||
| − | |build1amount=1 |
||
| − | |build2= Ferrite |
||
| − | |build2amount=500 |
||
| − | |build3= Circuits |
||
| − | |build3amount=300 |
||
| − | |build4= Polymer Bundle |
||
| − | |build4amount=300 |
||
| − | |buildtime=12 |
||
| − | |buildrush=25 |
||
| ⚫ | |||
| + | {{BuildAutomatic|type=Weapon}} |
||
| ⚫ | |||
==Characteristics== |
==Characteristics== |
||
| Line 28: | Line 188: | ||
'''Advantages:''' |
'''Advantages:''' |
||
| + | *High {{Icon|Proc|Slash|Text}} damage – effective against [[health]]. |
||
| ⚫ | |||
| + | *High [[status chance]]. |
||
| − | *Good base damage. |
||
| + | *[[Slam Attack]]s and [[Finisher#Ground_Finisher|Ground Finisher]]s inflict {{Icon|Proc|Heat|Text}} damage. |
||
| − | *Great [[Status Effect|status]] chance. |
||
| ⚫ | |||
| − | *Higher damage compared to most other longswords. |
||
| − | *Slam attacks deal {{Icon|Proc|Heat|Text}} damage in a large AoE with a very high chance to proc. |
||
**Panic caused from {{Icon|Proc|Heat|Text}} proc lasts much longer than a knockdown. |
**Panic caused from {{Icon|Proc|Heat|Text}} proc lasts much longer than a knockdown. |
||
| ⚫ | |||
| − | *Finisher attack deals {{Icon|Proc|Heat|Text}} damage with 50% proc chance. |
||
| − | * |
+ | *Innate {{Icon|Pol|Bar}} polarity. |
| ⚫ | |||
'''Disadvantages:''' |
'''Disadvantages:''' |
||
| + | *Low {{Icon|Proc|Impact|Text}} and {{Icon|Proc|Puncture|Text}} damage – ineffective against [[shield]]s and [[armor]]. |
||
| − | *Does not deal knockdown to synthetic enemies (Ospreys, MOAs) on Slam Attack. |
||
| + | *Slam Attacks and Ground Finishers have innate {{Icon|Proc|Heat|Text}} damage – less effective against [[Proto Shield]]s. |
||
| ⚫ | |||
| + | *Very low [[critical chance]]. |
||
| + | *Low [[critical multiplier]]. |
||
| ⚫ | |||
{{WeaponBuildSection}} |
{{WeaponBuildSection}} |
||
| − | == |
+ | ==Tips== |
| + | *{{M|Condition Overload}} is highly recommended to take advantage of this weapon's high status chance and ability to proc {{Icon|Proc|Heat|text}} against enemies, greatly increasing its damage into the several hundreds if properly modded. |
||
| − | *The {{Icon|Pol|Bar}} [[polarity]] slot works well with the melee mod: [[Molten Impact]]. |
||
| + | *As with all broadswords, using the Heat Sword with {{WF|Excalibur}} is advised in order to increase the weapon's damage and swing speed. |
||
| − | * Having this equipped will cause [[Valkyr]]'s Jump and Slam attacks during [[Hysteria]] to cause AoE {{Icon|Proc|Heat|Text}} damage instead of Knockdown. |
||
| + | *While the weapon's base damage composition and slam attack effect already make it effective against Infested enemies, one can add {{M|Virulent Scourge}} or ({{M|Primed Fever Strike|Primed}}) {{M|Fever Strike}} together with {{M|Molten Impact}} or {{M|Volcanic Edge}} to create {{Icon|Proc|Gas|text}} damage and further increase this effectiveness. |
||
| ⚫ | |||
| + | *The last swing of {{M|Iron Phoenix}}'s "Taking Flight" combo will trigger the weapon's slam attack and, thus, proc {{Icon|Proc|Heat|text}} against all enemies in range, allowing you to ignite enemies seamlessly without needing to jump and ''actually ''perform a slam if this stance is equipped. The mismatched polarities may discourage this, however, unless one is willing to expend a [[Forma]]. |
||
==Trivia== |
==Trivia== |
||
| − | *Jump attacks will make the Heat Sword emit a visible ring of fire upon slamming the ground. This visual trait is shared with other Heat weapons like the |
+ | *Jump attacks will make the Heat Sword emit a visible ring of fire upon slamming the ground. This visual trait is shared with other Heat weapons like the {{Weapon|Heat Dagger}}, {{Weapon|Dual Heat Swords}}, and formerly, {{Weapon|Sheev}}. |
*The Heat Sword received a visual change in {{ver|16.5}}, giving it a faded color scheme with texture animations similar to those found in Prisma weapons. |
*The Heat Sword received a visual change in {{ver|16.5}}, giving it a faded color scheme with texture animations similar to those found in Prisma weapons. |
||
| + | *The Ember statue in the [[Relay|Strata Relay]] is holding a Heat Sword on its right hand. |
||
==Media== |
==Media== |
||
| Line 69: | Line 232: | ||
==Patch History== |
==Patch History== |
||
{{Scrollbox/Article| |
{{Scrollbox/Article| |
||
| − | {{ver| |
+ | {{ver|26}} |
| + | ''Actual patch notes made a mistake on old status chance and damage number according to archived versions of Module:Weapons/data.'' |
||
| ⚫ | |||
| + | *Mastery Rank increased from 0 to 3. |
||
| + | *Damage increased from 44 to 147. |
||
| + | *Range increased from 1 to 2.5. |
||
| + | *Slam Attack increased from 88 to 441. |
||
| + | *Slide Attack increased from 94 to 147. |
||
| + | *Parry Angle set to 55. |
||
| ⚫ | |||
| ⚫ | |||
{{ver|17.2}} |
{{ver|17.2}} |
||
| − | * |
+ | *Heat Sword can now be used in PvP. |
| + | {{ver|17.0.4}} |
||
| − | |||
| ⚫ | |||
*Brightened the visual effect of Heat Sword’s slam attack. |
*Brightened the visual effect of Heat Sword’s slam attack. |
||
| − | |||
{{ver|16.5}} |
{{ver|16.5}} |
||
| − | * |
+ | *Heat Sword available for use in Conclave. |
*The Heat Sword has been given a tremendous visual overhaul. |
*The Heat Sword has been given a tremendous visual overhaul. |
||
| + | |||
| + | {{ver|5}} |
||
| + | *Introduced. |
||
}} |
}} |
||
| + | {{ver/Lu|26}} |
||
| − | ==See |
+ | ==See Also== |
| ⚫ | |||
| − | * [[Alert]], the way you acquire the Heat Sword. |
||
| − | * |
+ | *{{Weapon|Dual Heat Swords}}, the dual version. |
| ⚫ | |||
{{WeaponNav}} |
{{WeaponNav}} |
||
| ⚫ | |||
__NOTOC__ |
__NOTOC__ |
||
| + | [[de:Hitzeschwert]] |
||
| + | [[es:Espada de calor]] |
||
| ⚫ | |||
[[Category:Tenno]] |
[[Category:Tenno]] |
||
[[Category:Sword]] |
[[Category:Sword]] |
||
| Line 100: | Line 274: | ||
[[Category:Weapons]] |
[[Category:Weapons]] |
||
[[Category:Slash Damage Weapons]] |
[[Category:Slash Damage Weapons]] |
||
| + | [[Category:Closed Beta]] |
||
| + | [[Category:Heat Damage Weapons]] |
||
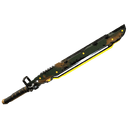
Revision as of 15:01, 2 April 2020
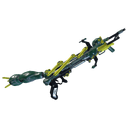
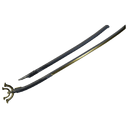
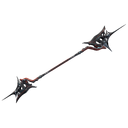
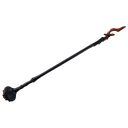
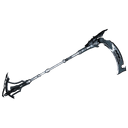
The Heat Sword is a sword that radiates Script error: The function "Proc" does not exist. on its slam attacks and ground finishers.
This weapon can be sold for ![]() 5,000.
5,000.
The Heat Sword blueprint is rewarded upon completion of the Once Awake Quest. Alternatively, its blueprint can also be bought from the Nightwave Offerings.
| Manufacturing Requirements | |||||
|---|---|---|---|---|---|
20,000 |
1 |
500 |
300 |
300 |
Time: 12 Hour(s) |
| Rush: | |||||
Characteristics
This weapon deals primarily Script error: The function "Proc" does not exist. damage.
Advantages:
- High Script error: The function "Proc" does not exist. damage – effective against health.
- High status chance.
- Slam Attacks and Ground Finishers inflict Script error: The function "Proc" does not exist. damage.
- Innate Script error: The function "Proc" does not exist. damage – effective against Cloned Flesh, Infested, and Infested Flesh.
- Panic caused from Script error: The function "Proc" does not exist. proc lasts much longer than a knockdown.
- Stance slot has a Script error: The function "Pol" does not exist. polarity, which matches
 Crimson Dervish, Swooping Falcon and Vengeful Revenant.
 - Innate Script error: The function "Pol" does not exist. polarity.
Disadvantages:
- Low Script error: The function "Proc" does not exist. and Script error: The function "Proc" does not exist. damage – ineffective against shields and armor.
- Slam Attacks and Ground Finishers have innate Script error: The function "Proc" does not exist. damage – less effective against Proto Shields.
- Very low critical chance.
- Low critical multiplier.
- Below average attack speed.

Tips
- Condition Overload is highly recommended to take advantage of this weapon's high status chance and ability to proc Script error: The function "Proc" does not exist. against enemies, greatly increasing its damage into the several hundreds if properly modded.
- As with all broadswords, using the Heat Sword with Excalibur is advised in order to increase the weapon's damage and swing speed.
- While the weapon's base damage composition and slam attack effect already make it effective against Infested enemies, one can add Virulent Scourge or ( Primed) Fever Strike together with Molten Impact or Volcanic Edge to create Script error: The function "Proc" does not exist. damage and further increase this effectiveness.
- The last swing of Iron Phoenix's "Taking Flight" combo will trigger the weapon's slam attack and, thus, proc Script error: The function "Proc" does not exist. against all enemies in range, allowing you to ignite enemies seamlessly without needing to jump and actually perform a slam if this stance is equipped. The mismatched polarities may discourage this, however, unless one is willing to expend a Forma.
Trivia
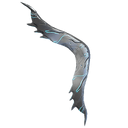
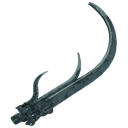
- Jump attacks will make the Heat Sword emit a visible ring of fire upon slamming the ground. This visual trait is shared with other Heat weapons like the Heat Dagger, Dual Heat Swords, and formerly, Sheev.
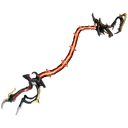
- The Heat Sword received a visual change in Update 16.5 (2015-05-12), giving it a faded color scheme with texture animations similar to those found in Prisma weapons.
- The Ember statue in the Strata Relay is holding a Heat Sword on its right hand.
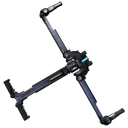
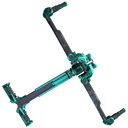
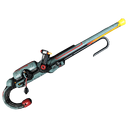
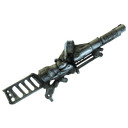
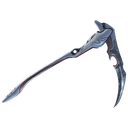
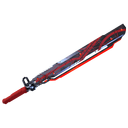
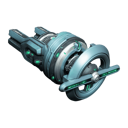
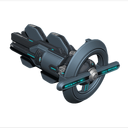
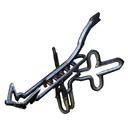
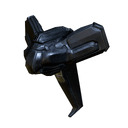
Media


 (35 KB)")
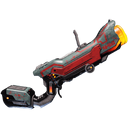
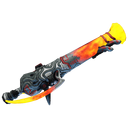
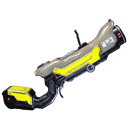
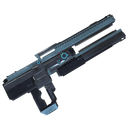
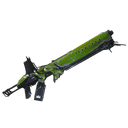
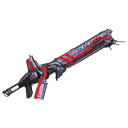
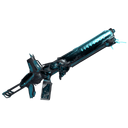
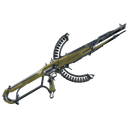
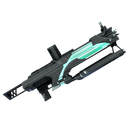
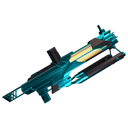
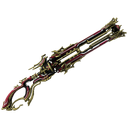
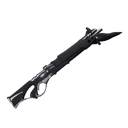
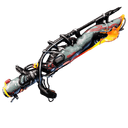
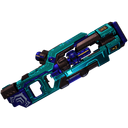
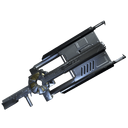
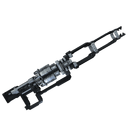
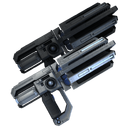
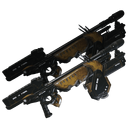
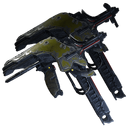
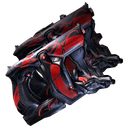
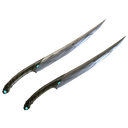
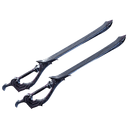
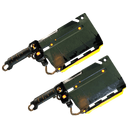
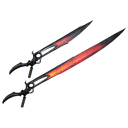
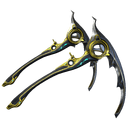
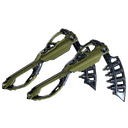
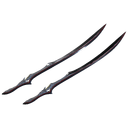
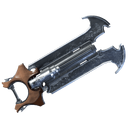
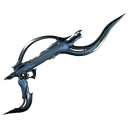
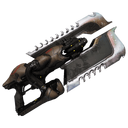
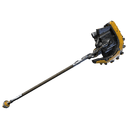
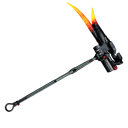
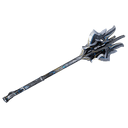
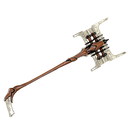
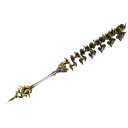
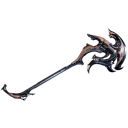
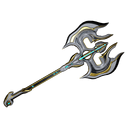
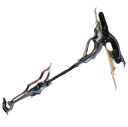
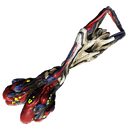
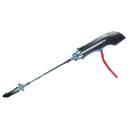
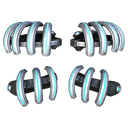
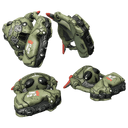
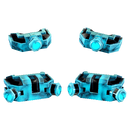
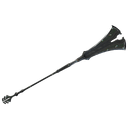
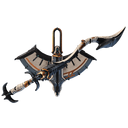
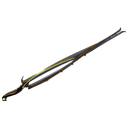
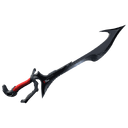
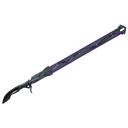
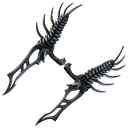
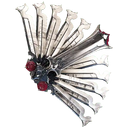
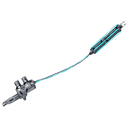
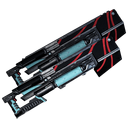
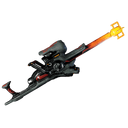
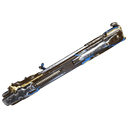
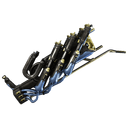
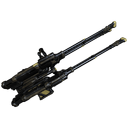
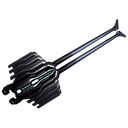
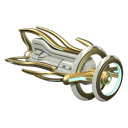
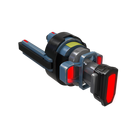
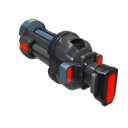
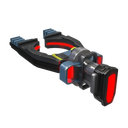
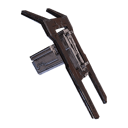
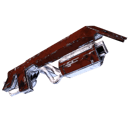
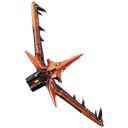
Heat Sword Skins
")
")
")
")
")
")
")
Patch History
Update 26.0 (2019-10-31) Actual patch notes made a mistake on old status chance and damage number according to archived versions of Module:Weapons/data.
- Mastery Rank increased from 0 to 3.
- Damage increased from 44 to 147.
- Range increased from 1 to 2.5.
- Slam Attack increased from 88 to 441.
- Slide Attack increased from 94 to 147.
- Parry Angle set to 55.
Update 17.5 (2015-10-01)
- Reduced the melee slam radius of Heat Sword in PvP.
Update 17.2 (2015-08-19)
- Heat Sword can now be used in PvP.
Hotfix 17.0.4 (2015-08-06)
- Brightened the visual effect of Heat Sword’s slam attack.
Update 16.5 (2015-05-12)
- Heat Sword available for use in Conclave.
- The Heat Sword has been given a tremendous visual overhaul.
Update 5.0 (2012-12-18)
- Introduced.
Last updated: Update 26.0 (2019-10-31)
See Also
- Heat Dagger, the dagger version.
- Dual Heat Swords, the dual version.


